Saturday, 27 December 2008
Harry Potter fanart: 'Close Ties'
Interpret this image any way you like ^^
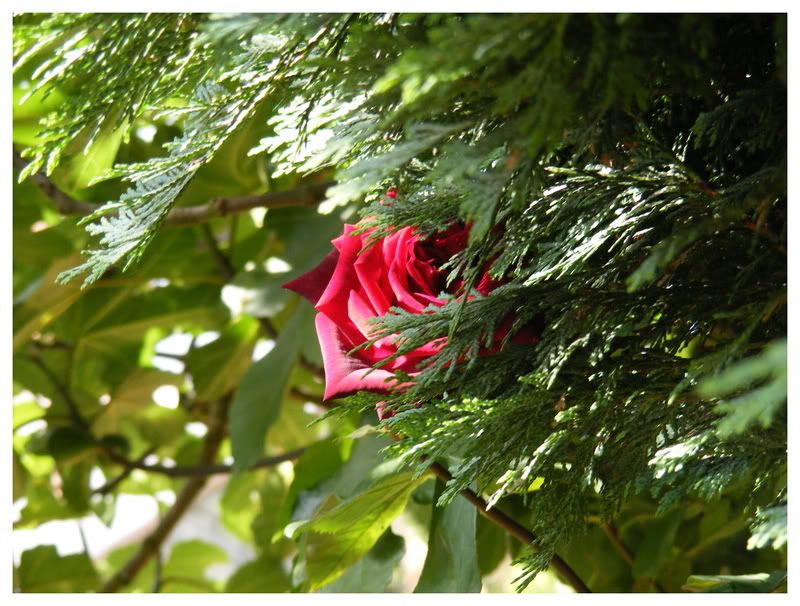
I haven't drawn anyone from Potter for a long time, so when I got inspiration (from this photo) I had to draw them.
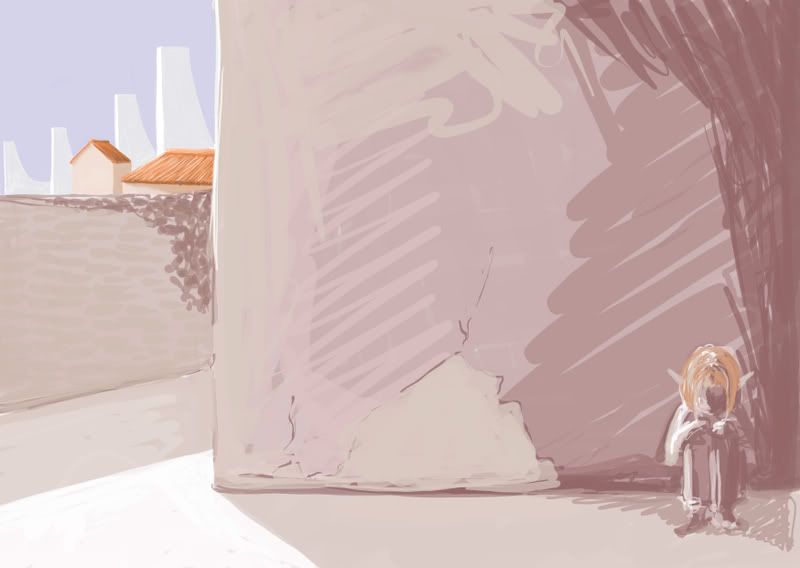
I then used the image to see how the new tablet works ^^
I'm DAMN pleased with this, I think it's turned out really well ^^
The background is sort of haphazard, but I rather like it XD
Took around 6 to 8 hours in photoshop. Original pencils took about two hours, inking about a half hour. Download for full view.
Harry Potter, Ron Weasley and Hermione Granger (C) J.K. Rowling
Art (C) Hannah King
Monday, 22 December 2008
More from YAMABUSHI
These are the Chibi versions of the ten characters from Yamabushi, created specifically to illustrate the Website ^^
Want to find these as single images? Go to our Deviant Page!
YAMABUSHI
Thursday, 18 December 2008
Mermaid Booklet
Whoo. This took about a month to make c.c
Details: Swapbot
You will take 9 pieces of sturdy paper. They have to be something between the size of an ATC and a postcard. Then you will decorate each paper on BOTH sides - the theme is Mermaids (and Mermen!). You can use anything you like, nice papers, fabrics, embellishments, ribbons, let your imagination go wild! And definitely don't just slap on a sticker! The sides of the papers don't have to be straight - they can be cut, ripped, etc. whatever will fit your artsy mermaid cards!
Once you're done with decorating you will cut a small hole into the LEFT UPPER side of every card, maybe secure it with something or pull a small ring through it and THEN you'll put all the cards onto a keyring. You can always add more decoration onto the keyring as well, like some ribbons or pendants - you don't have to though. --> UPDATE: If you have ideas for another kind of binding that will result in a neat booklet, that's ok. Just make sure you create a booklet, self-made. :)
As you may be able to see from the top photograph, I secured my pages to a ring ^^ I then added a lovely green ribbon and two strings of beads - one small one with blue and green glass beads, another long one with sea shapes and my swap partners innitials.
Page 01: Entirely hand drawn. The card was coloured and stamped first, then I drew on to it and added mre colour and some embellishments.
Page 02: I used an image of a mermaid sitting on the shore, onto lovely swirly paper and added some beads and a green stamp and some gold stamps.
Page 03: Entirely hand drawn in graphite, added some swirls in glittery green gel pen and some crystals and added glitter for shimmery effects.
Page 04: I used an image of some mermaids befriending sailors and decorated it with shimmery fabric and glitter gel pens.
Page 05: Another mermaid image, this time decorated with a stamp, a fish shaped brad and some lovely medieval style fabric.
Page 06: I coloured the card with blues, purples and pinks, then added a shell image and decorated with crystals, a small mermaid doodle and the Kanji for 'mermaid'.
Page 07: A mermaid illustration on shimmery pink card, decorated with glitter gel pens, two stamps, some crystals, a gorgeous brad and a flower-shaped bead - the lace to the right is stuck between this page and the next.
Page 08: A lovely image stuck on glittery gold card and embellished with a brad and some paper flowers.
Page 09: A hand-drawn ATC loosely attached to a stamped card background - with fluffy threads and crystals to embellish the ATC.
Page 10: A hand-drawn ATC loosely attached to a stamped card background - with glitter gel pens and crystals used to embellish the ATC.
Page 11: Lovely mermaid illustration on grey-brown card background, decorated with glitter-gel pens and glitter glue - a small seahorse keyring attached to bottom right corner.
Page 12: Mermaid image on card backround, decorated with stamps, glue-spot, fish shaped brad and glitter gel pens - as well as glitter-glue.
Page 13: Entirely Hand-drawn mermaid on striped blue-black-white card, embellished with gold-red-bronze thread, glitter gel pens, small silver ribbon and black brads.
Page 14: Mermaid image on glittery black card, and embellished with glitter gel pens, letter brads, pink-flower brads and beading on right hand side.
Page 15: Mermaid image on green-card background, decorated with gold pen, gold glitter gel pen, glitter gel pens, fish shaped brads and glitter glue blobs.
Page 16: Mermaid image on parchment card, decorated with glitter gel pens, brads, crystals and small flat flower-shaped beads.
Page 17: Mermaid image on card, with black paper, stamps, brads, flower-shaped beads, and glitter gel pens.
Page 18: Entirely hand-drawn on green hand-made fabric-paper, stamped, with green threads, glitter glue, heart brad, green and yellow brad and gold flower bead.
I'm really bloody pleased with these ^^
I recieved mine in the post last week - it was exclusively found images, but beaded and embellished really well - I love it! ^^
I decided to draw some of the mermaid pages myself for my own booklet, and I hope my partner likes it when it arrives ^^
And here's a close-up of the Hand-Drawn pages ^^
Thursday, 4 December 2008
Christmas Decorations!
The Tree, Front Window and Mantlepiece in the the livingroom downstairs ^^
The Tree and a photo we keep of Spork in my and Matt's bedroom ^^
Twisp decided to get in the way...
...and then so did Moogle XD
Notice that they've both been Christmassed? Mom gave them both pretty gold bows and kept calling them 'Christmas Cats' XD
And now for some 'arty shots' because I couldn't help myself!
And there you have it ^^ This is what Christmas looks like at our house! ^^
For more photos, go here: Whisperelmwood's Flickr Gallery
Wednesday, 26 November 2008
Monday, 17 November 2008
Tastefully Nude ATCs
These four ATCs are for the Tastefully Nude Women ATC swap on SwapBot.
I hand drew each woman on plain computer-printer paper, inked them with fine-line architects pens, coloured them with Derwent Coloursofts, added some detailing with glitter-gel pens and then cut them out (painstakingly slowly, with both scissors and a scalple) and then stuck them down on the pink/purple ATC sized card. I added just a touch more glitter-gel pen detail to the card and then I was done ^^
I am inordinately pleased with these. Someone on the little forum-comment-box-thing on the swap page mentioned wanting something NON-Vintage, so I thought I'd do modern punk/goth for my cards.
Hopefully, whomever it is recieving these, likes them well enough ^^
Tuesday, 4 November 2008
Decorative Star Wallhanging
I've made this for a friend for christmas, it's part of a small selection of decorations I'm making for him ^^
More info about it can be found in my Flickr gallery.
Christmas Gingerbread House swap
I made this today for a swap being run by my mom on the UKScrapper's forum. I'll send this off to someone soon and get one back myself ^^
For more info on it, go to my flikr page.
Saturday, 25 October 2008
Crafty meme knicked off've Psychodiva
The Rules:
a. Type your answer to each of the questions below into Flickr Search. (Use the advanced search and scroll down and click on Creative Commons License so you use shareable photos!)
b. Using only the results on the first page, pick an image.
c. Copy and paste each of the URLs for the images into fd’s mosaic maker.
The Questions:
1. What is your first name?
2. What is your favorite food?
3. What high school did you go to?
4. What is your favorite color?
5. Who is your celebrity crush?
6. Favorite drink?
7. Dream vacation?
8. Favorite dessert?
9. What you want to be when you grow up?
10. What do you love most in life?
11. One Word to describe you.
12. Your flickr (or other online group) name.
1. Ban-hannah, 2. eye candy!, 3. 1998 Camp - Corsham Court nr Chippenham, 4. Green on Green, 5. Actor, 6. Ghost Town, 7. A link to all things "New York Taxi", 8. Chocolate and Banana Cream Cake, 9. Strip-tease!!!, 10. The Old Library, 11. temperamental, 12. United Kingdom 1
Thursday, 16 October 2008
ATC collections
I'm trying out ATCs again, so I thought I'd put up the ones I've done in the past ^^
Enjoy!
Mermaids Collection - done for a ten person swap. I used water colours, acrylics, ball-point pen, glitter-gell-pens, tip-ex(white-out), paper cut-outs, stickers and bits of gorgeous wool.
Fairies Collection - done for a ten person swap. Not one of my best, unfortunately. I used various papers, water-colours, ball-point pen, pencils, stickers and strips of netting.
Chocolate Collection - done for a ten person swap. I rather enjoyed this one ^^ I used soft papers, stickers, a lovely fluffy string and pencils.
Two collectiosn featuring found images of women, using anything I had to hand. I quite like them both and still have them all in my folder.
Purple, Rust and Green - two doubles and a single I did using anything to hand. I still have these ones in my folder as well ^^
Angels - a swap I did with a young woman in France. I used tissue paper, acrylic paint, a glittery gell-sticker, a gorgeous ribbon, ball-point pen and glitter-gel pens. I'm quite proud of these ^^
Tuesday, 14 October 2008
Blue Girdled
Wednesday, 6 August 2008
Character Designs?
Psychodiva caught me working on some character designs the other day, and she admonished me for not yet adding them to this blog. So here we go, simply to please her - some character designs ^^
Webcomic:Fancomic Character Designs
Mikomi Hyuuga
Yahiko Uzumaki
Sanosuke Uzumaki
Dee Rock
Mitsuki Rock
Gen Rock
Toshiko Subaku
Okita Subaku
Shihomi Nara
Shirabe Nara
Shintarou Nara
Shifumi Aburame
Kai Inuzuka and Dango
Katsunori Inuzuka and Mae
Chiaki Akimichi
Yakuya Akimichi
Rihito Shiranui
Yukiko Shiranui
Nanako Maito
Orika Maito
Baku Maito
Uzuki Maito
Asuma Sarutobi
Obito Hatake
Machi Hatake
Daichi Umino
Aki Umino
Junpei
Hayate
Kukiko Uchiha
These characters were created by taking existing characters, pairing them up and imagining what the genetic mix may come up with.
They were created for the webcomic Naruto:TNG which is still a work in progress.
Enjoy ^^
H
Thursday, 10 July 2008
Micheal Turner
Micheal Turner Passes Away at 37
I only just heard, but a great man has passed.
Micheal Turner - of Witch Blade, Fathom and Aspen fame - passed away ten days ago after a long battle with cancer.
Micheal Turner was the man, the artist, who got me into comics in the first place, his art was what inspired me to do it.
I know in the last year or so, I turned away from his work, but that doesn't change the fact that he was a huge inspiration to me, one of my biggest influences.
He was a brilliant artist and a brilliant writer.
He will surely be missed.
Tuesday, 17 June 2008
Saturday, 14 June 2008
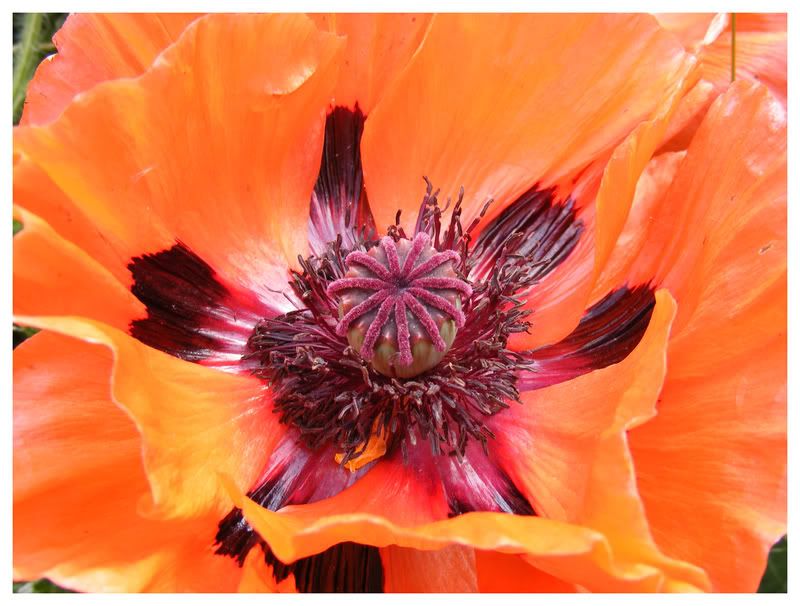
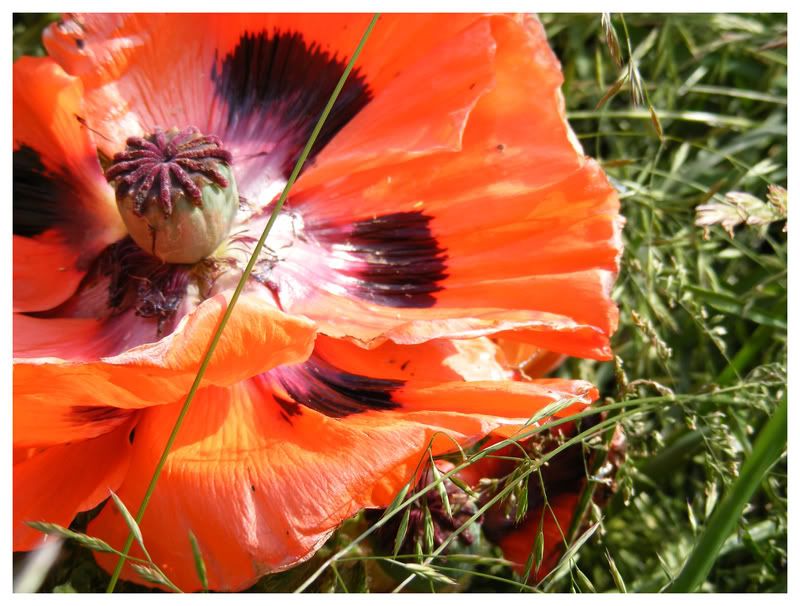
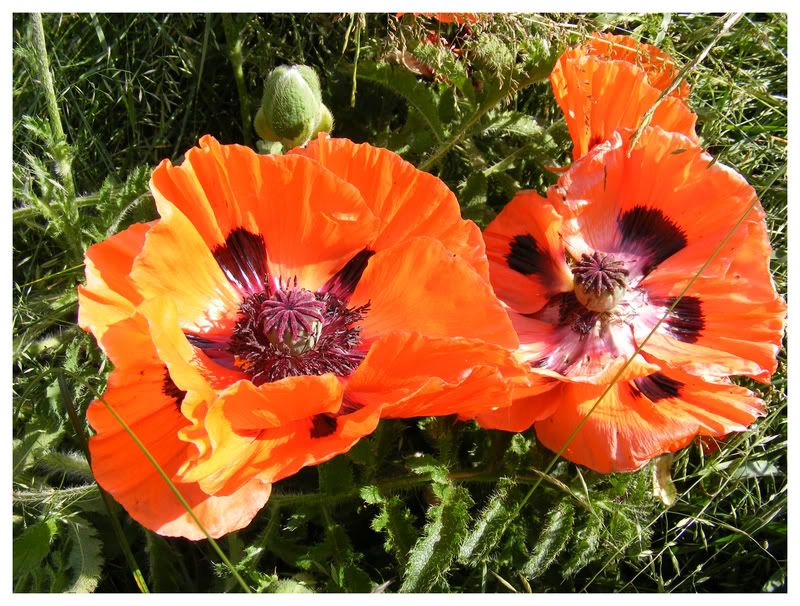
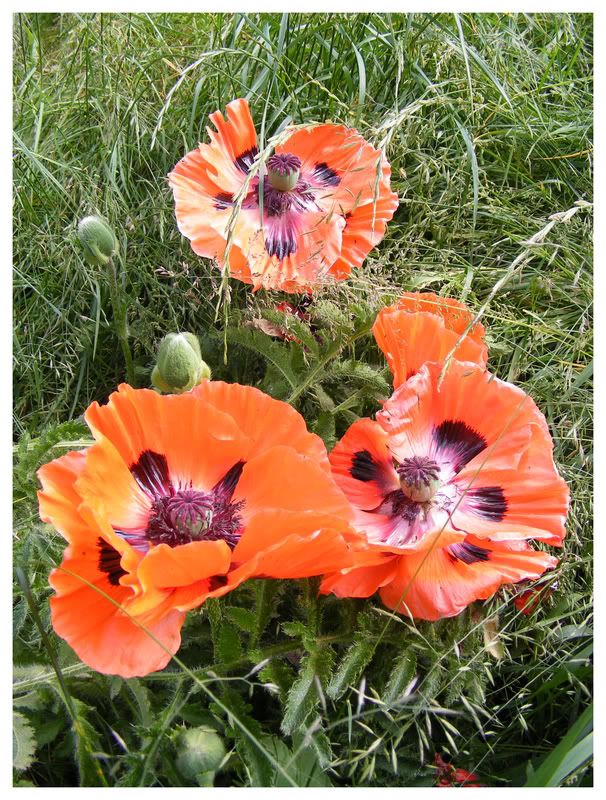
Poppies
I've been keeping an eye on the poppies in the garden the past couple of weeks, they're HUGE, about 8 - 10 inches from petal edge to petal edge.
I'm hoping they seed before we move, so I can take a head with me to the new garden.
Just thought I'd take some photographs to share. I also took a few other shots.
The only downside to taking the photos, is that I'm allergic to something in the garden and have now got a heyfever induced headache.
Enjoy.
Friday, 23 May 2008
Little Matchstick Girl WIP
I need to practice backgrounds, city/landscapes and story telling in my images, so I'm giving it a go.
This image is titled 'Little MAtchstick Girl' and is based on that same story. It's currently in the Work In Progress stages - and as I move on with the painting, I'll update with new scans for you ^^
This is painted directly into Photoshop CS3, using the normal paintbrush at 70 and 40 % opacity - all on one layer.
Wednesday, 23 April 2008
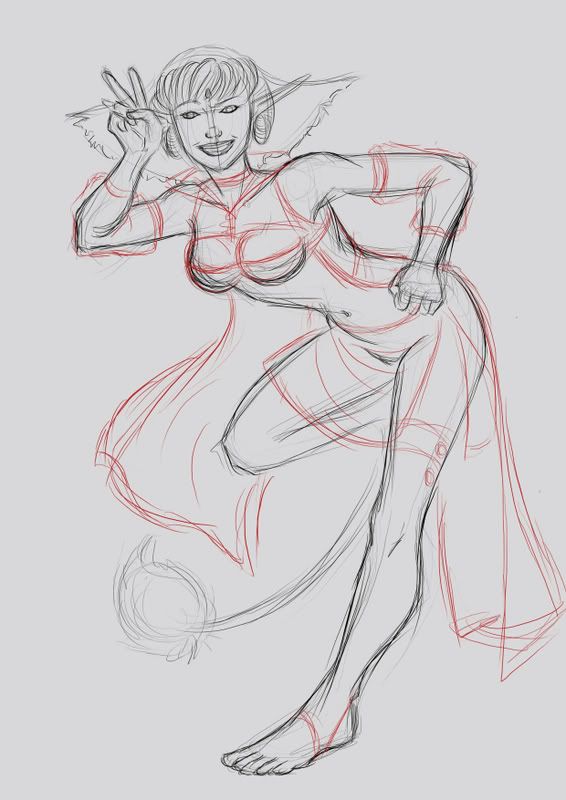
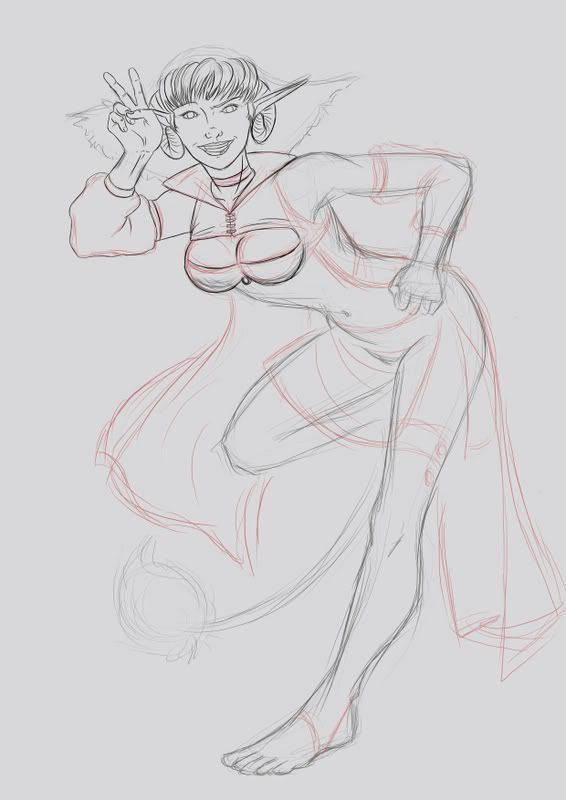
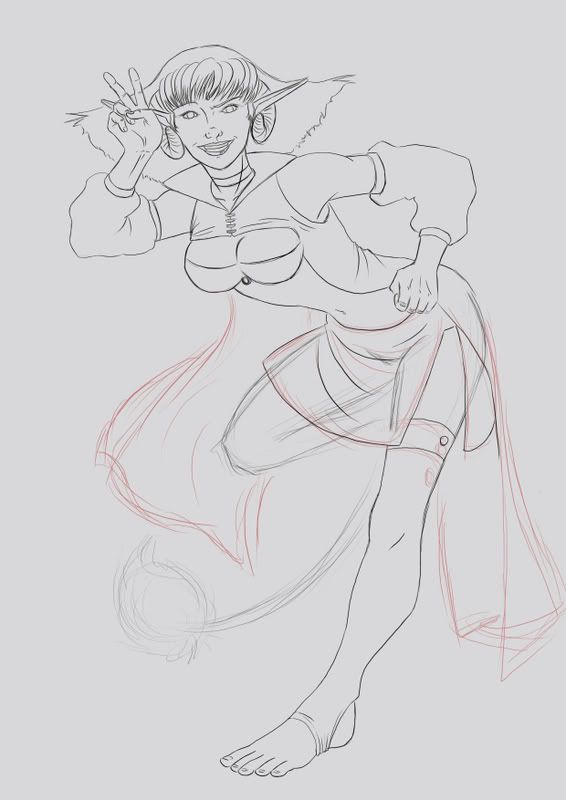
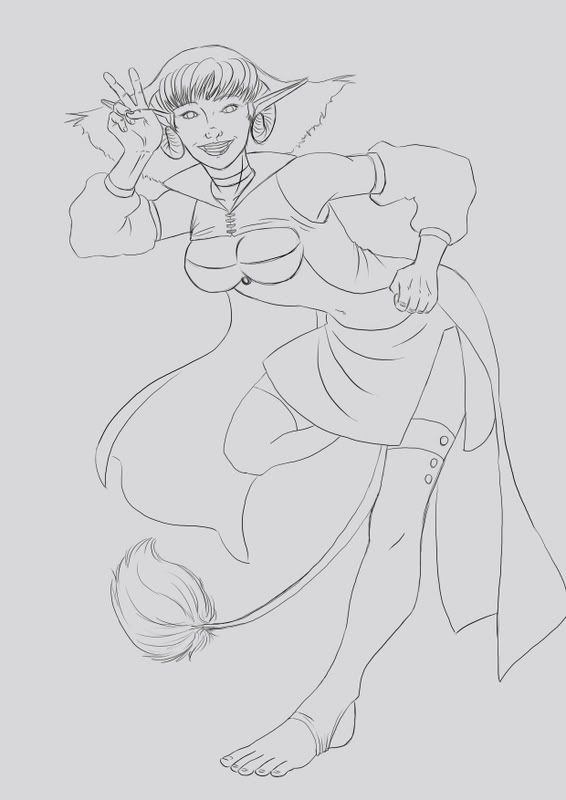
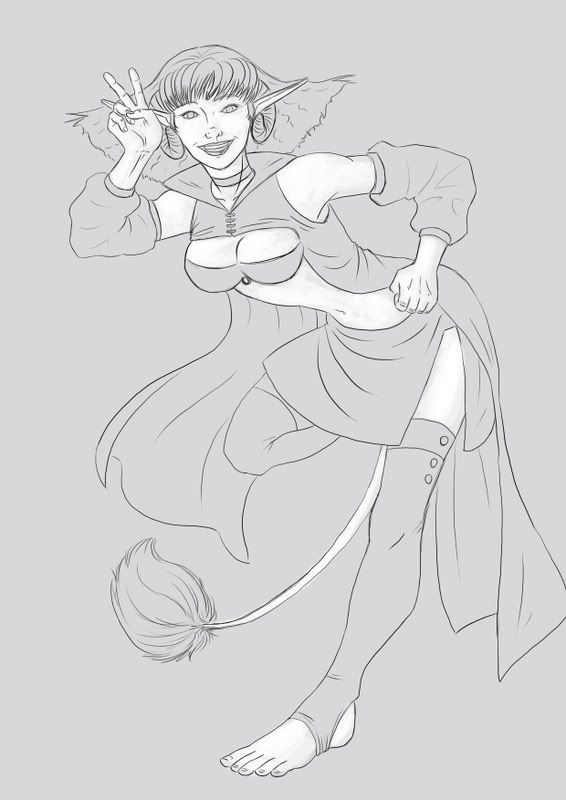
Whisper Elmwood - Character sketch
Please click any of these images for a full view.
In actuality, this image is roughly 8 inches wide by 11 inches tall. Or 2480pxls x 3508pxls.
I then lower the opacity levels on the two line layers to 50% and create a new layer, leaving it at opacity 100%. This makes it easier to ink over the rough lines. As I work, I erase the now redundant linework underneath the inking, to lessen the confusion.
As I go, I try to keep the inking clean and simple, with little embelishment - and I try to add in the details as I find them. At this stage, I start to outline where the folds in the cloth should lie, according to the shape of the body underneath them and how gravity will affect the material.
Of course - I also allow for it being a 'dynamic' pose, which requires a bit of movement in the clothing.
Once I have completed the line-work, I completely delete the two rough-sketch layers, thus removing any trace of the initial rough sketching. I now have two layers - the background and the line work. To this, I then add the details that I missed during the original inking-stage.
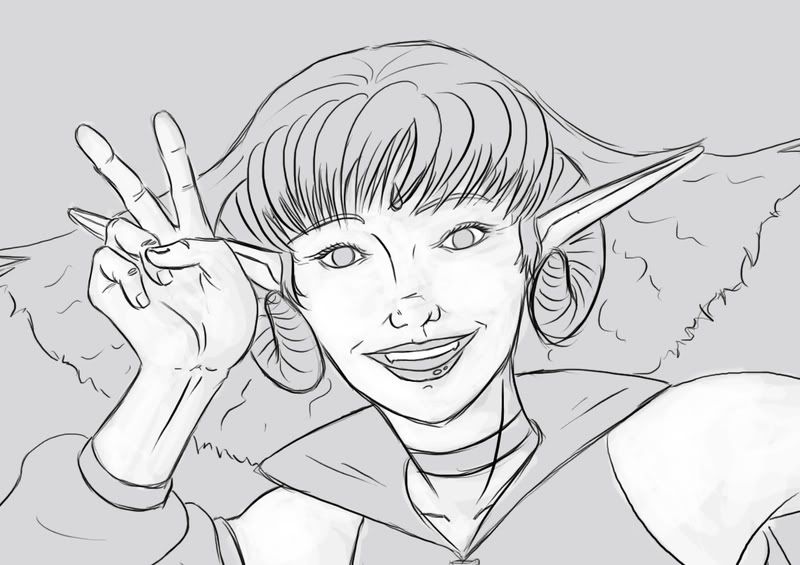
At this stage, I also changed her expression slightly, to make it more welcoming.
The finished image is created by adding another layer, between the background and the lines, on 'multiply', on which I add the white, using the paint-tool at opacity level 40 and building up layers of colour to hint at lighting.
Here is a close up of her face, if you want to see! ^^
So there you have it ^^
I'm not sure whether I'll colour this properly - it was a trial, to see how well I could do this using my new computer/tablet/PSCS3 system - apparently I can do it well XD
H
Subscribe to:
Posts (Atom)