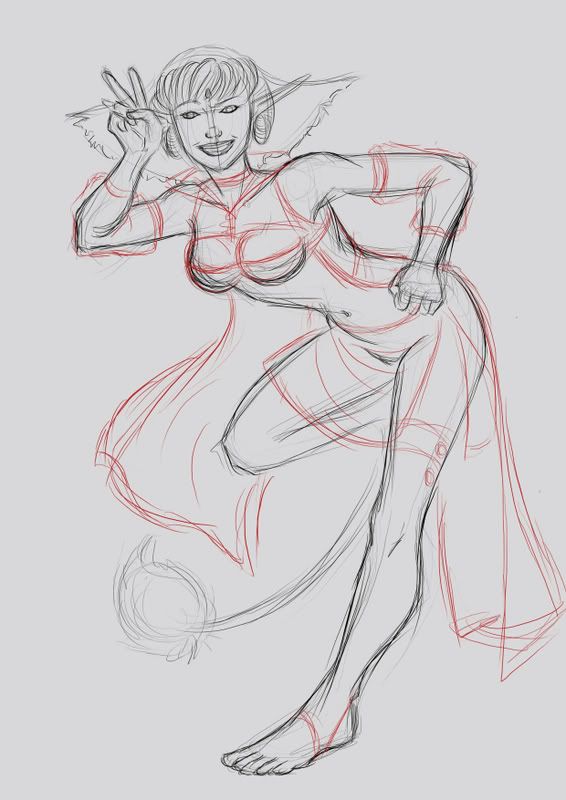
Please click any of these images for a full view.
In actuality, this image is roughly 8 inches wide by 11 inches tall. Or 2480pxls x 3508pxls.
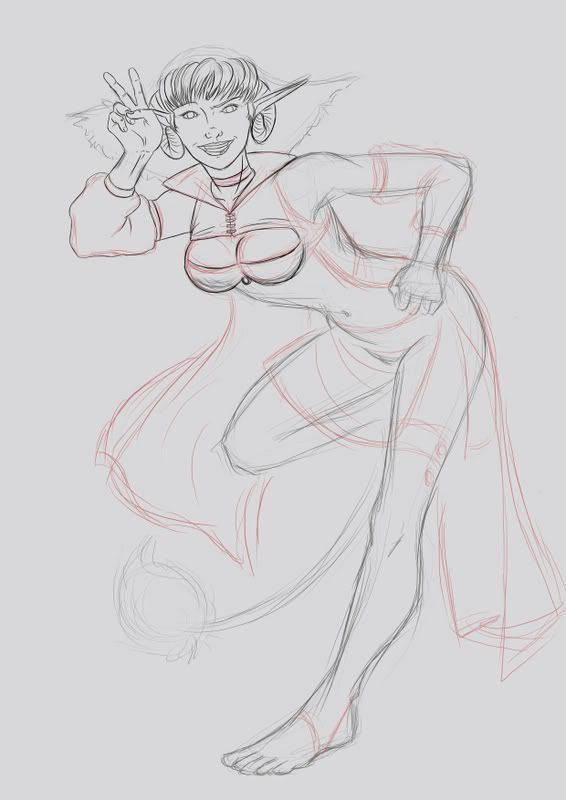
I then lower the opacity levels on the two line layers to 50% and create a new layer, leaving it at opacity 100%. This makes it easier to ink over the rough lines. As I work, I erase the now redundant linework underneath the inking, to lessen the confusion.
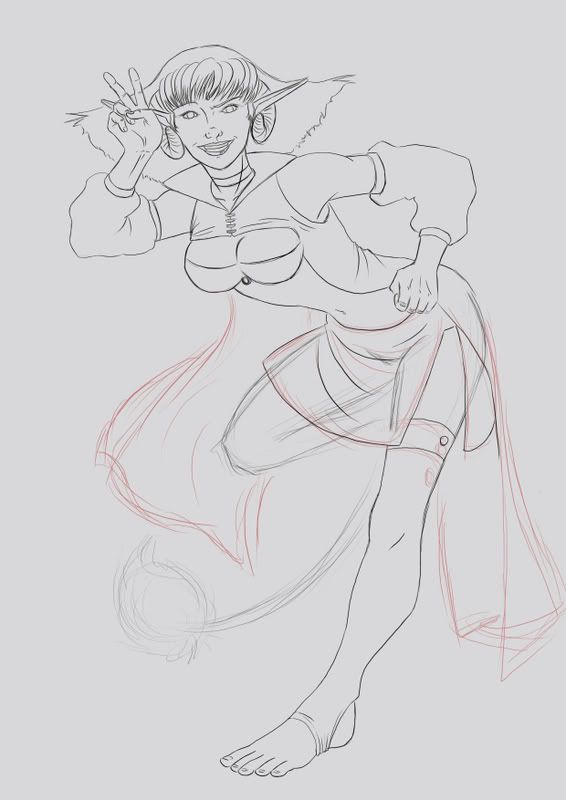
As I go, I try to keep the inking clean and simple, with little embelishment - and I try to add in the details as I find them. At this stage, I start to outline where the folds in the cloth should lie, according to the shape of the body underneath them and how gravity will affect the material.
Of course - I also allow for it being a 'dynamic' pose, which requires a bit of movement in the clothing.
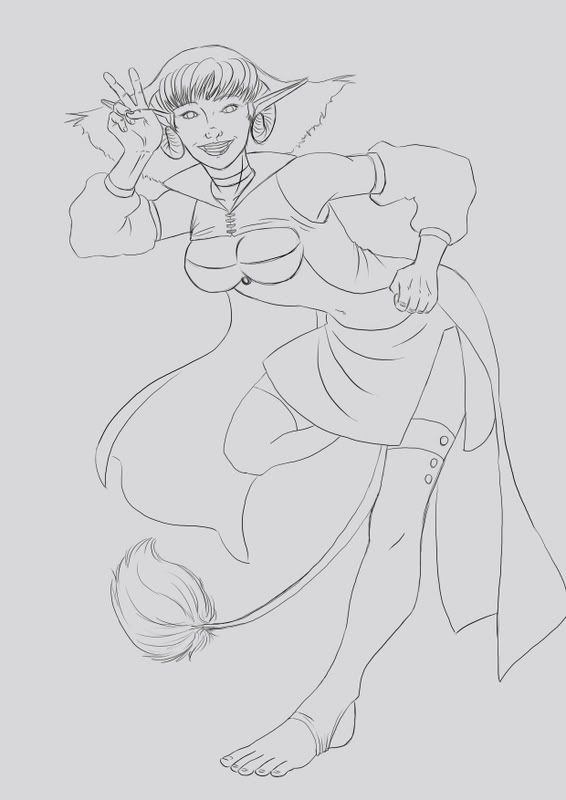
Once I have completed the line-work, I completely delete the two rough-sketch layers, thus removing any trace of the initial rough sketching. I now have two layers - the background and the line work. To this, I then add the details that I missed during the original inking-stage.
At this stage, I also changed her expression slightly, to make it more welcoming.
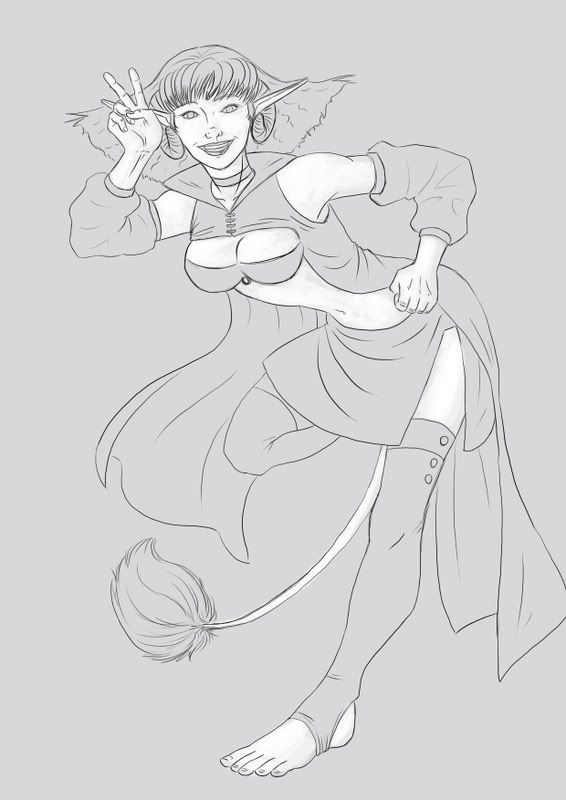
The finished image is created by adding another layer, between the background and the lines, on 'multiply', on which I add the white, using the paint-tool at opacity level 40 and building up layers of colour to hint at lighting.
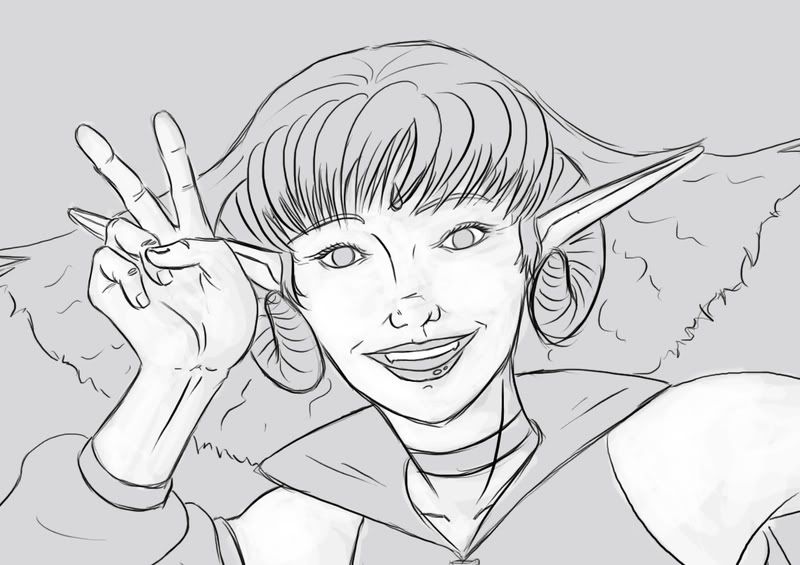 Here is a close up of her face, if you want to see! ^^
So there you have it ^^
I'm not sure whether I'll colour this properly - it was a trial, to see how well I could do this using my new computer/tablet/PSCS3 system - apparently I can do it well XD
H
